
Screwless dental implants represent a modern advancement in tooth replacement technology, offering a streamlined alternative to traditional screw-retained options. If you’re exploring this route, understanding the process, candidacy requirements, and what to expect can help you make an informed decision with confidence.
#1: Understand the Difference Between Screw-Retained and Screwless Implants

Before pursuing screwless implants, you need to grasp how they differ from conventional options. Screwless (or cement-retained) implants use dental cement to bond the crown to the implant abutment, eliminating the visible screw hole that characterizes traditional designs. This approach can provide a more natural aesthetic and reduce the risk of screw loosening over time. The cement acts as a permanent adhesive, similar to how a dentist might cement a traditional crown onto a natural tooth. Understanding this fundamental difference helps you appreciate why some patients prefer screwless technology.
#2: Consult with a Qualified Implant Dentist or Prosthodontist
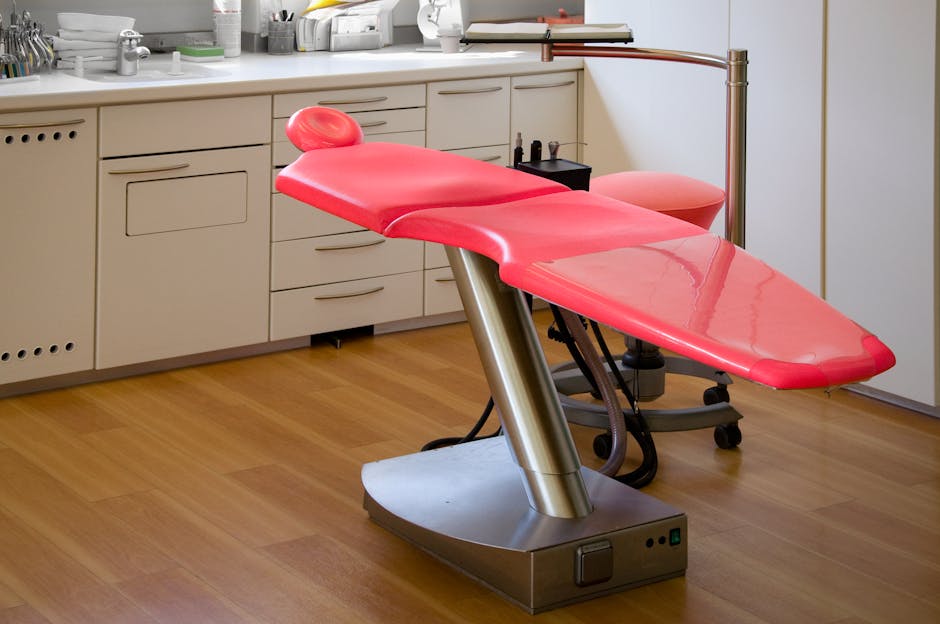
Your first practical step is scheduling a consultation with a dental professional experienced in screwless implant placement. Not every dentist offers this technology, so you may need to research specialists in your area or ask your general dentist for a referral. A prosthodontist—a dentist with advanced training in tooth restoration—often has extensive screwless implant experience. During your visit, the specialist will evaluate your jawbone density, gum health, and overall oral condition using X-rays or CT scans. They’ll also discuss your aesthetic goals and explain whether screwless implants align with your specific needs, ensuring you’re a good candidate before proceeding.
#3: Get Comprehensive Imaging and Bone Assessment
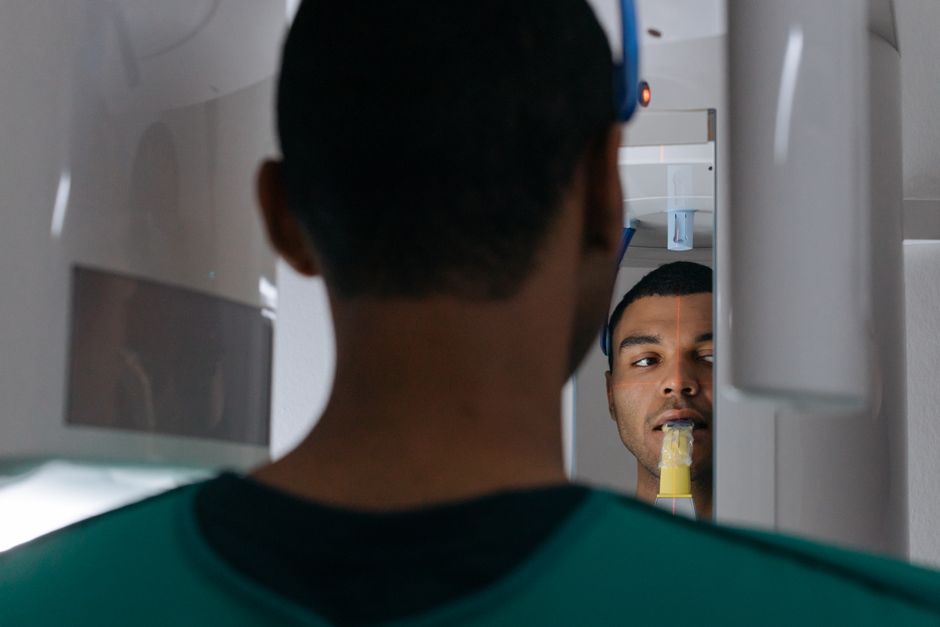
Once you’ve selected your implant provider, you’ll undergo detailed imaging to evaluate your jawbone structure and quality. Your dentist will likely use cone beam computed tomography (CBCT) scans, which provide three-dimensional images of your jaw, sinuses, and nerves. This imaging is critical because screwless implants require adequate bone volume and density to support the implant securely. The scan helps your dentist plan the exact implant size, angle, and depth needed for optimal results. If your bone is insufficient, your dentist might discuss bone grafting options before implant placement. This thorough assessment phase ensures your implants have the strongest foundation possible.
Advertisement
#4: Explore Bone Grafting if Necessary

If imaging reveals inadequate jawbone, bone grafting may be recommended before implant placement. This procedure involves adding bone material (from your own jaw, a donor, or synthetic sources) to areas where your jawbone has receded or atrophied. The graft integrates with your existing bone over several months, creating a sturdy base for your screwless implant. While this adds time to your overall treatment timeline—typically 4 to 6 months of healing—it significantly improves implant success rates and longevity. Your prosthodontist will explain the grafting options available and help you decide if this step is necessary for your situation, ensuring your implants have maximum stability.
#5: Prepare for the Surgical Implant Placement

As your surgery date approaches, your dentist will provide pre-operative instructions to optimize healing and reduce infection risk. You may be asked to avoid certain medications, stop smoking, and arrange transportation since sedation is often used during placement. On surgery day, your implant dentist will administer local anesthesia and possibly IV sedation to keep you comfortable. The surgeon creates a small opening in your jawbone and carefully inserts the titanium implant, which will serve as the artificial tooth root. The entire procedure typically takes 1 to 2 hours depending on complexity. Your dentist will discuss post-operative care—including pain management, swelling reduction, and dietary restrictions—to support proper healing over the next several months.
#6: Allow Adequate Time for Osseointegration
After implant placement, your body enters a critical healing phase called osseointegration, where bone fuses directly to the titanium implant surface. This process typically takes 3 to 6 months, though some patients may need longer depending on bone quality and overall health. During this time, you’ll attend follow-up appointments so your dentist can monitor healing progress with X-rays. It’s essential to follow all post-operative guidelines—avoiding hard foods, maintaining gentle oral hygiene, and protecting the implant site from trauma. This patience period is crucial for screwless implants because the implant must be completely stable before your dentist can safely cement the crown in place. Rushing this phase risks implant failure, so adherence to healing timelines is paramount.
Advertisement
#7: Have Your Custom Abutment and Crown Fabricated
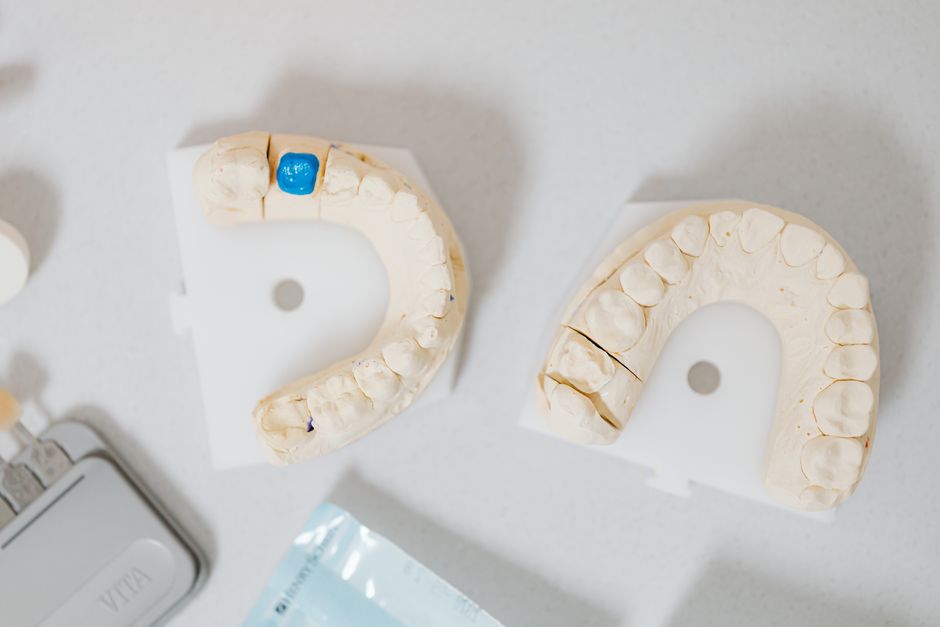
Once osseointegration is complete, your dentist takes impressions and designs a custom abutment—the connector piece between your implant and crown. This abutment is often milled from titanium or ceramic and is tailored to your implant’s exact specifications and your bite alignment. Your prosthodontist will also work with a dental laboratory to fabricate your crown, ensuring it matches your natural teeth in color, shape, and size. For screwless implants, precision in this phase is especially important because the crown must fit perfectly onto the abutment for proper cementation. Your dentist may use digital scanning technology and CAD/CAM design to achieve millimeter-level accuracy, resulting in a restoration that looks and functions like a natural tooth.
#8: Complete Implant Restoration with Cementation
The final step is placing your custom crown onto the abutment using dental cement—the defining characteristic of screwless implants. Your dentist will carefully apply the cement, seat the crown with precise pressure, and remove excess material to prevent inflammation. Because there’s no screw access hole, your crown has a seamless, natural appearance that’s often indistinguishable from a real tooth. After cementation cures fully, you’ll receive instructions on maintaining your new implant through regular brushing, flossing, and professional cleanings. Your dentist may schedule follow-up appointments to monitor your bite and ensure long-term success. With proper care, screwless dental implants can last 15 to 20 years or longer, making them a durable investment in your smile.
Getting screwless dental implants is a multi-step journey that requires patience, qualified professional guidance, and careful adherence to post-treatment care. By following these steps and working with an experienced implant specialist, you’re setting yourself up for a natural-looking, long-lasting tooth replacement.
Advertisement